4.8KB
Getting Started:
Introduction:
Heaps is an open source and multi-platform toolkit to create 2D and 3D games.
Installation:
• To use Heaps.io, you need to install Haxe 3.4+
• Later, Download the Heaps, install.
For windows 8: (incase you are facing with error)
• If you are using windows 8, download Windows installer/Windows Binaries Check in the heaps folder whether its running fine or not.
• If you are getting this error,
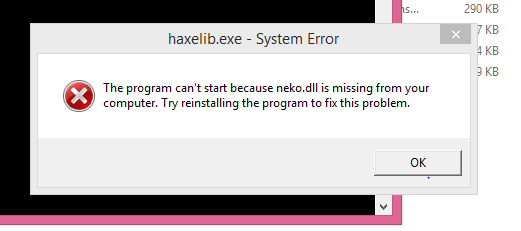
• Then please follow this link and download ,in your heap directory, manually we are installing it (https://www.sts-tutorial.com/download/api-ms-win-crt-heap-l1-1-0).
Setup:
Run in the command prompt haxelib install heaps
Editor - Installation & Setup :
• The recommended editor for creating Heaps applications is Visual Studio Code: The recommended editor for creating Heaps applications is Visual Studio Code:download Visual Studio Code
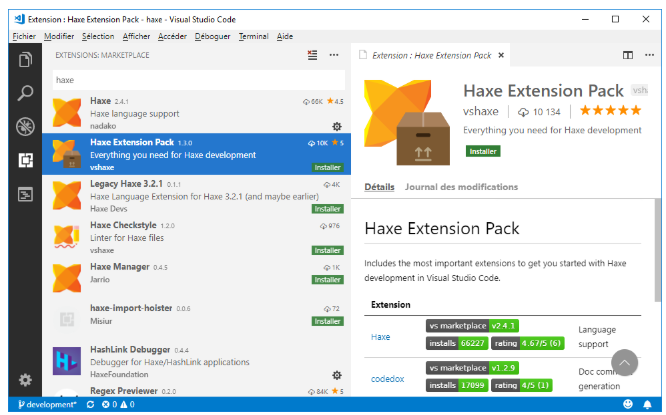
• Install Haxe Extension Pack:
Click on the Extension panel (fourth icon on the left side bar of VSCode), search haxe and install Haxe Extension Pack that will contain everything you need for Haxe support.
If your VSCode is up to date (after v1.31), you're good to go. Otherwise, restart VSCode once installation is complete (you can click the Reload label that should be showing)
Project creation & compilation:
• Create a new directory helloHeaps
• Create into it a file compile.hxml: this file will contain your Haxe compilation parameters and the libraries you are using.
• Edit the compile.hxml (with VSCode or any other text editor) to set the following content:
-lib heaps
-js hello.js
-main Main
-debug
• This will tell the compiler that we are using the library Heaps, that we will compile to JavaScript hello.js output, and that our main class should be Main.hx file. • The -debug file allows generation of source maps in order to be able to debug your JS application.
Open with VSCode:
At this point, you can open the helloHeaps folder with VSCode by launching VSCode and navigating the main menu File > Open Folder
Example:
Creating Hello World Create a new Main.hx in the directory and put the following content
        class Main extends hxd.App {
override function init() {
    var tf = new h2d.Text(hxd.res.DefaultFont.get(), s2d);
    tf.text = "Hello World !";
}
static function main() {
    new Main();
}
   }
• This example creates a Heaps Text component, adds it to the 2D scene s2d and set its text.
Compile Output:
• In order to compile, you need to create a Build task with VSCode, this can be done by going into the VSCode menu and select Terminal > Configure Default Build Task Or ( you can use the command to get the Terminal:Ctrl+Shift+P)
Select haxe : active configuration
• You can now compile with Shift-Ctrl+B (or by going Terminal > Run Build Task)
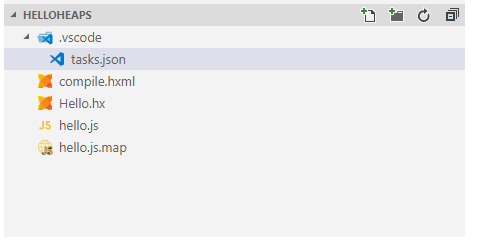
• If everything works well, you should now have both hello.js and hello.js.map files created in your helloHeaps folder:
Run in Browser:
In order to run our example, we need to embed it into a web page. Create a file named index.html with the following content:
    <!DOCTYPE>
<html>
<head>
    <meta charset="utf-8"/>
       <title>Hello Heaps</title>
    <style>
        body { margin:0;padding:0;background-color:black; }
        canvas#webgl { width:100%;height:100%; }
    </style>
</head>
<body>
    <canvas id="webgl"></canvas>
    <script type="text/javascript" src="hello.js"></script>
</body>
        </html>
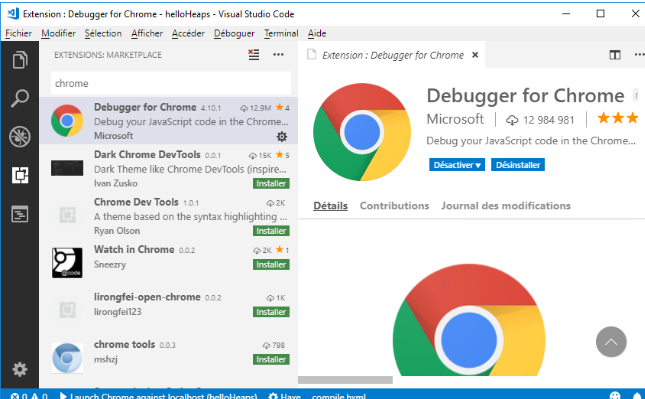
In order to Run with Chrome, you need Chrome Debugger VSCode extension. Open again the Extension manager and search for Chrome to install it:
• Once installed, press F5 or do Debug > Start Debugging. This should give you the choice to Debug with Chrome. If not, restart VSCode so the extension is activated. • If you click on Chrome label, it will open you a .vscode/launch.json similar to the tasks.json we had earlier for compiling.
{
"version": "0.2.0",
"configurations": [
    {
        "type": "chrome",
        "request": "launch",
        "name": "Launch Chrome against localhost",
        "url": "http://localhost:8080",
        "webRoot": "${workspaceFolder}"
    }
]
}
You can either setup a web server on localhost:8080 to display the content, or either simply replace the url using the following value:
“url”: “file://${workspaceFolder}/index.html”,
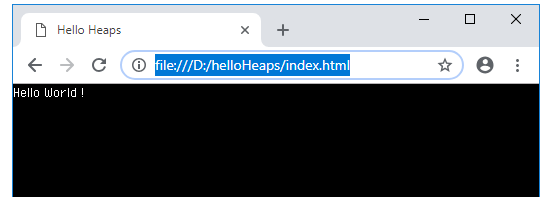
Now Run again (through the menu or F5) and the browser should open and display Hello World